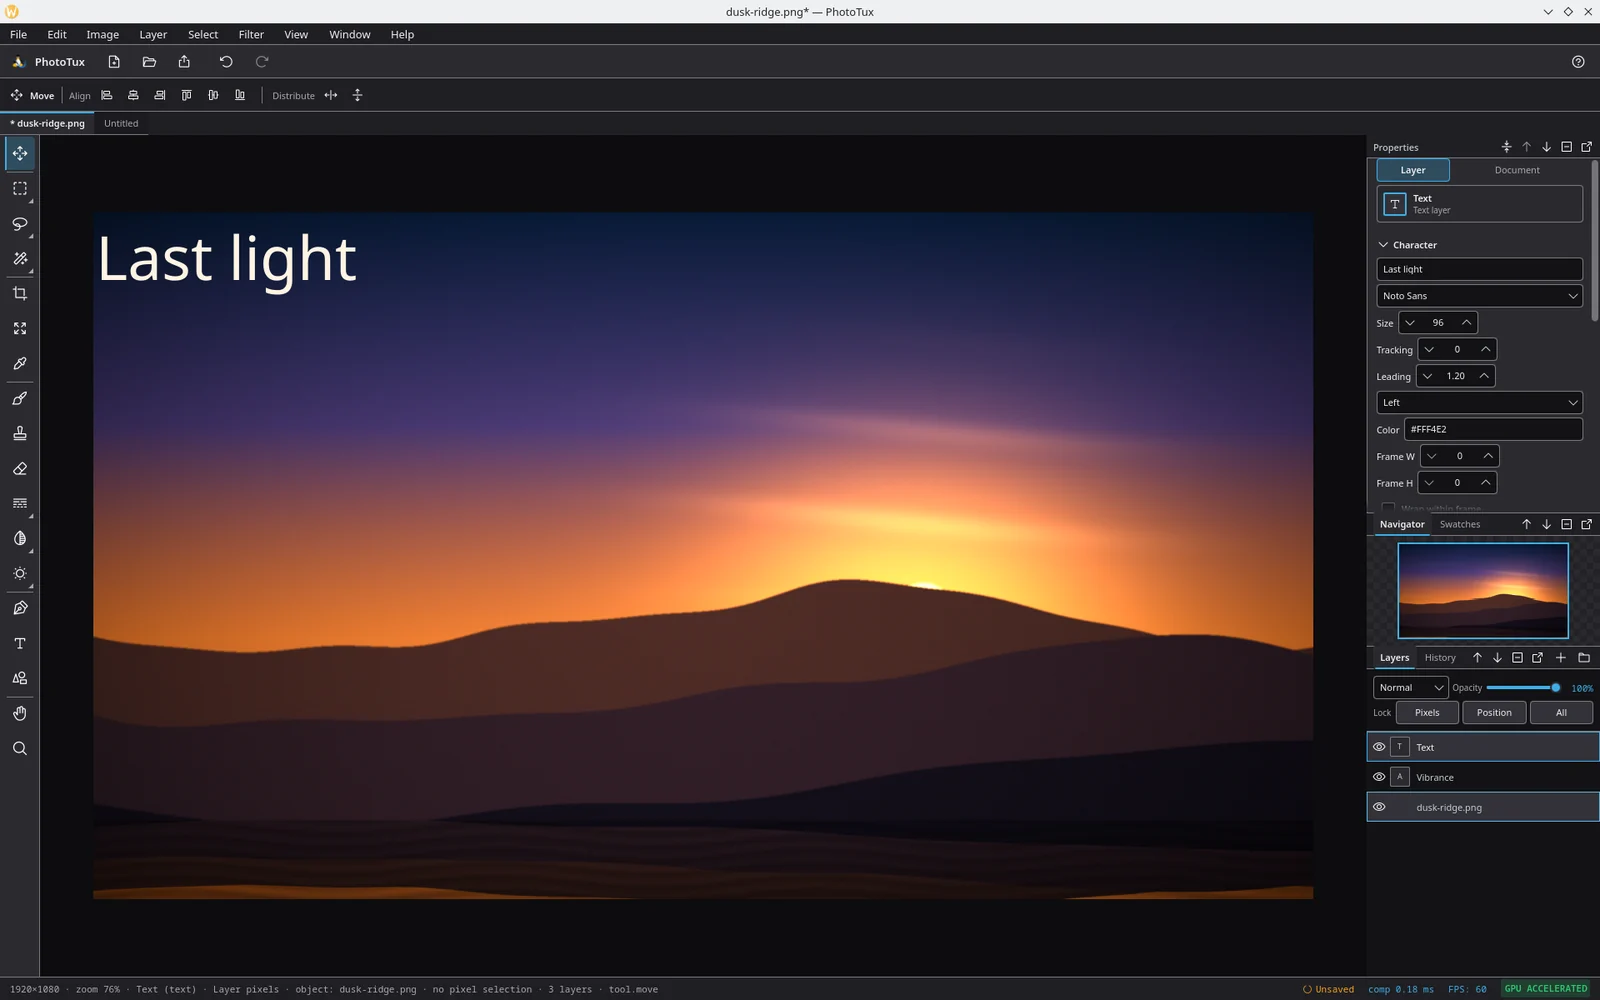
PhotoTux’s window is laid out the way Adobe Photoshop’s is, so that muscle memory carries over. If you have used Photoshop you can skip most of this and go straight to your first edit.
The menu bar
Nine menus across the top: File, Edit, Image, Layer, Select, Filter, View, Window and Help. Each holds what its Photoshop counterpart holds — Image Size and Canvas Size under Image, layer composition under Layer, everything to do with the selection under Select.
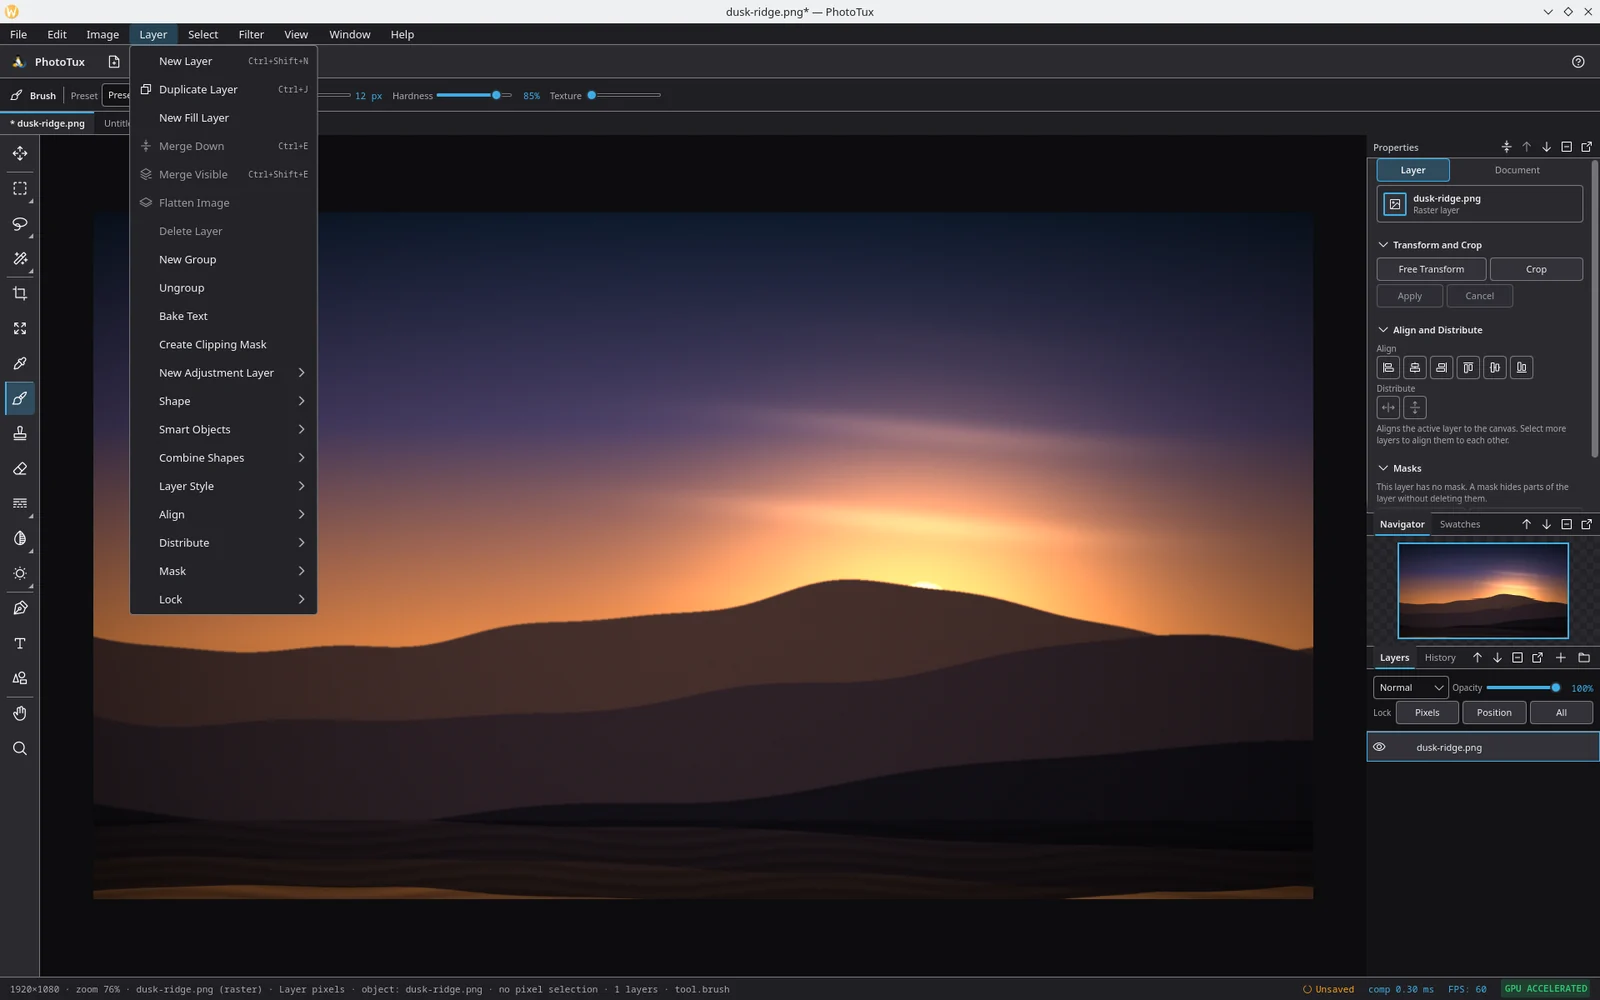
Under the menu bar sits a thin toolbar with New, Open, Export, Undo and Redo, and a help button at the far right.
The options bar
Below the toolbar, the options bar shows the settings for whichever tool is active. Pick the Brush and it holds preset, size, hardness and texture; pick the Move tool and it holds the align and distribute buttons; pick Text and it holds font and size.
It is the only piece of chrome that changes as you work, which is deliberate: everything else stays where you left it.
Document tabs
Each open document is a tab, directly under the options bar. A dot before the name means unsaved changes. PhotoTux is a single-window application — multiple windows are out of scope, and a session holds as many documents as you open.
The tool shelf
The vertical strip down the left edge. Tools are grouped the way Photoshop groups them, with a rule between bands:
- Move
- Selection — the two marquees, the two lassos, the wand and Color Range
- Measure — Crop, Free Transform, Eyedropper
- Paint — Brush, Clone Stamp, Eraser, Gradient, Paint Bucket, and the Blur / Sharpen / Smudge and Dodge / Burn / Sponge groups
- Vector — Path Edit, Text, Shape
- Navigate — Hand, Zoom
A tool with a small triangle in its corner has more behind it: press and hold,
or right-click, to get the flyout. Every tool also has a single-key shortcut —
B for Brush, M for the Rectangular Marquee, L for Lasso — and holding
Shift cycles to the next tool in that group. The full list is in the
tool reference.
The canvas
The document itself, drawn on the GPU. Everything outside the page is letterboxed in a darker grey, and transparent areas of the document show the checkerboard.
- Pan with the Hand tool, by holding
Spacewith any tool, or with the middle mouse button. - Zoom with
Ctrl+=andCtrl+-, or with the mouse wheel, which anchors on the pointer rather than the centre. Ctrl+1is Actual Pixels — one image pixel per screen pixel.Ctrl+0is Fit on Screen.
Zoom steps walk a fixed ladder rather than multiplying, so zooming in and out again lands back on the number you started from, and the ladder passes through 100% exactly.
The docks
Down the right-hand side, five panels in a stack. Which ones are visible, and in what order, is remembered between sessions.
Properties
Everything about the current selection of thing. With a layer selected it shows the layer kind, transform and crop, align and distribute, masks, layer styles and — for a text, shape, adjustment or smart-object layer — the controls specific to that kind. The Document tab beside it holds the document’s own properties, including its colour profile.
Sections are collapsible; View ▸ Collapse All Property Groups folds them all at once.
Navigator and Swatches
The Navigator shows a thumbnail of the whole document with a rectangle marking what is on screen — useful when you are zoomed in far enough to lose your bearings. Swatches, on the tab beside it, holds saved colours.
Layers and History
The Layers panel is the stack, top layer first, with blend mode and opacity above it and lock buttons beside them. See working with layers.
The History panel, on the tab beside it, lists every step you have taken. Undone steps stay in the list, dimmed, so you can see what redo would bring back; clicking one walks the document to that point in either direction.
The status bar
Along the bottom. On the left, a summary of the document: pixel size, zoom, active layer and kind, what is being edited, whether there is a selection, how many layers, and the active tool. On the right, per-frame numbers — composite time, frames per second — and whether the GPU path is running.
If that right-hand cluster ever reads something other than GPU ACCELERATED, see troubleshooting.
The command palette
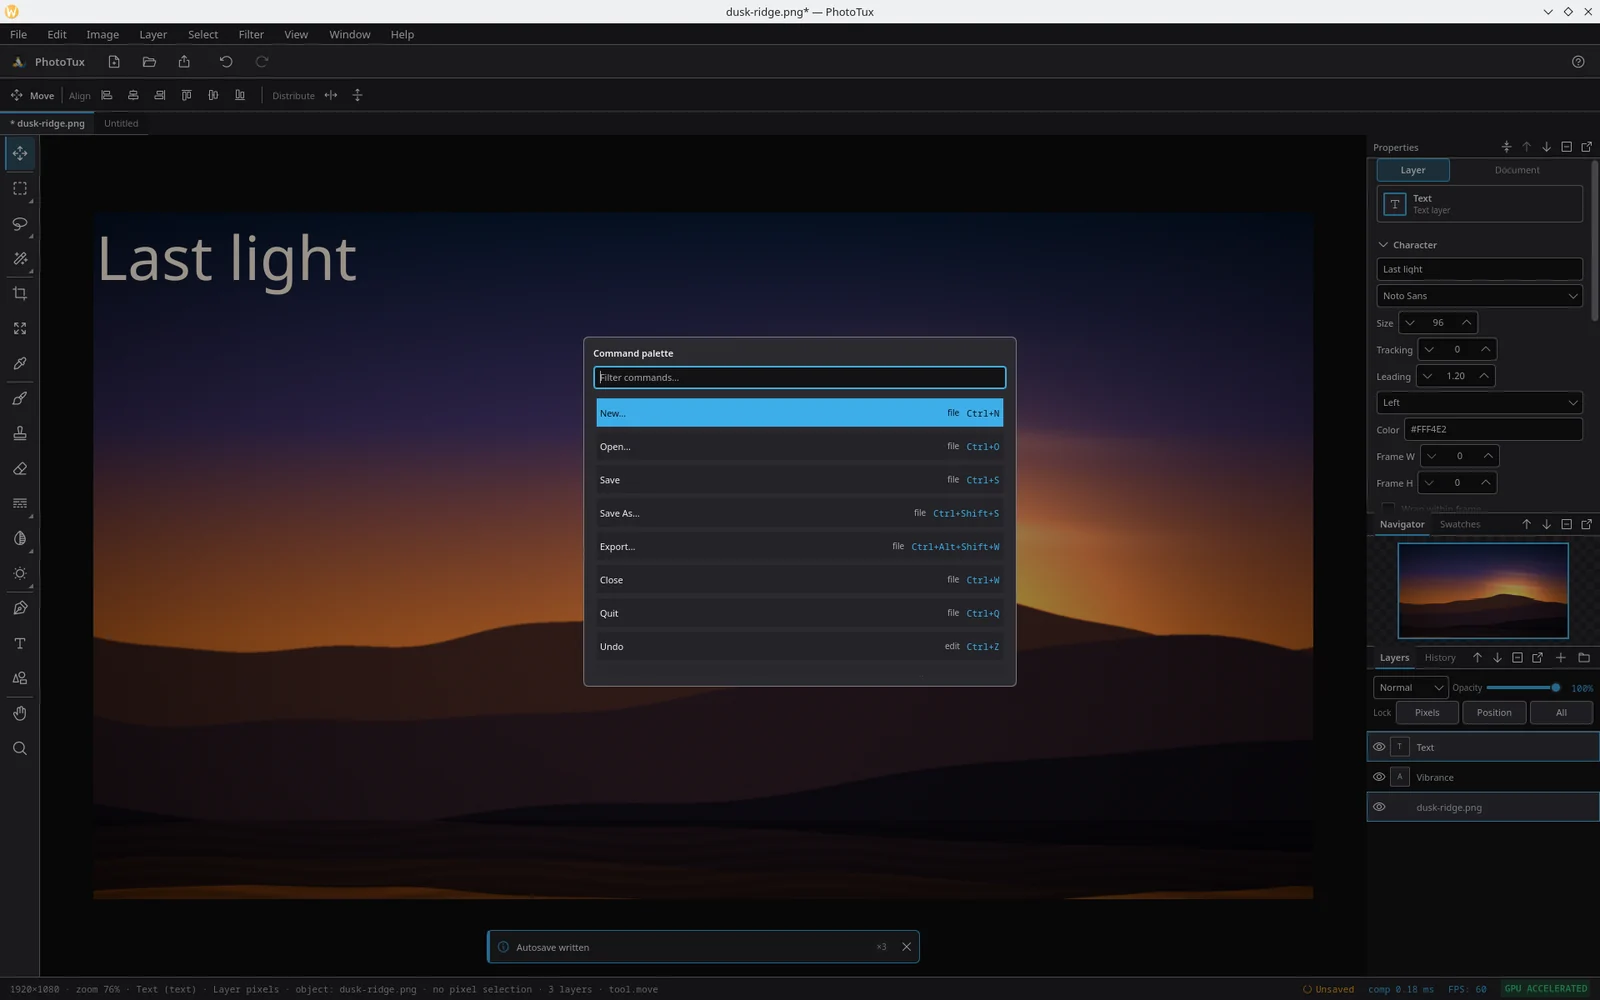
Ctrl+Shift+P opens a filterable list of every action in the application,
each with its menu and its keyboard chord. It is the fastest way to find
something whose menu you have forgotten, and the fastest way to learn a
shortcut you keep looking up.
Workspaces
Window ▸ Workspace switches between saved panel arrangements — Essentials, Compact, Painting — and Factory defaults puts everything back. Individual panels toggle from the same menu. See panels and preferences.